Introduction: why posture and workstation design matter for sciatic pain
Sciatica arises when the sciatic nerve or its roots become irritated, often sending sharp or burning pain down the leg. Prolonged sitting with poor lumbar support, awkward angles, or a mismatched desk setup can aggravate symptoms by increasing pressure on the lower spine and altering pelvic alignment. As a clinician and health writer with extensive experience in ergonomic guidelines, I’ve seen how even small adjustments can yield meaningful relief. This guide focuses on an ergonomic desk setup for sciatica prevention that you can implement today, with steps that fit most home or office environments.
Understanding how desk setup influences sciatic pain
The sciatic nerve travels from the lower spine through the buttocks and down each leg. Sitting for long periods with hips held in an excessively flexed or rotated position can compress the joints and discs, potentially irritating nerve roots. Poor posture—slouching, leaning forward, or crossing legs—can also shift weight away from the spine’s natural curves, increasing stress on the lumbar region. By aligning your desk and seating to support a neutral spine, you reduce undue load on the lower back and create a healthier environment for the sciatic nerve.
Adopting an evidence-informed approach to desk setup involves more than a single adjustment. It’s about an integrated system: chair with lumbar support, correct desk height, monitor alignment, keyboard and mouse positioning, and a plan for movement. The goal is to promote posture that minimizes nerve strain while allowing frequent microbreaks and gentle motion throughout the workday.
Key components of an ergonomic desk setup for sciatica prevention
Below are the essential elements that make up an ergonomic, sciatica-friendly workstation. Each component supports a neutral spine, balanced pelvic tilt, and comfortable arm alignment.
Chair with proper lumbar support and adjustability
A high-quality ergonomic chair with adjustable lumbar support helps maintain the natural inward curve of the lower back. Key features include adjustable seat height, seat depth, backrest angle, and armrest position. When seated, your feet should rest flat on the floor or on a stable footrest, and your knees should be about hip-height, forming roughly a 90-degree angle. A chair that allows you to tilt slightly backward (about 100–110 degrees) can reduce spinal load during tasks that require forward attention.
Desk height and workstation alignment
The desk should enable your forearms to rest parallel to the floor when typing, with elbows at about 90 degrees. If the desk is too high, you may elevate your shoulders or reach forward, increasing neck and back tension. If it’s too low, you’ll slump. A height-adjustable desk is ideal because it supports both seated and standing work while preserving posture. Screen and keyboard should be within an arm’s reach to minimize overreaching.
Monitor position and visual ergonomics
Position the monitor so the top line of text is at or just below eye level. The monitor should be about an arm’s length away (roughly 50–70 cm, depending on screen size) to avoid leaning forward. Angle the screen slightly downward to reduce glare and neck strain. If you use multiple monitors, place the primary screen directly in front of you and the secondary screen to the side at a similar height.
Keyboard, mouse, and hand posture
Place the keyboard and mouse close enough to prevent reaching. Your wrists should remain in a neutral position—not bent up or down—while typing or using the mouse. A keyboard with a slight negative tilt or a vertical mouse can help maintain neutral wrist alignment. Consider a wrist rest only if it helps maintain a straight forearm position without encouraging rest on the carpal tunnel area for long durations.
Foot support and seating dynamics
Keep both feet flat on the floor. If your feet don’t reach the ground, use a small footrest to avoid dangling legs, which can tilt the pelvis and undermine lower-back support. Pelvic positioning should feel balanced and stable, with the pelvis in a neutral posture rather than tucked or overarched.
Movement, breaks, and variation
Static postures amplify discomfort over time. Incorporate short, regular movement breaks—ideally every 30–60 minutes. Standing or walking for a few minutes, a gentle hip and spine stretch, or a few ankle circles can reset posture and reduce nerve irritation. A sit-stand option supports variety while keeping the upper body aligned and comfortable.
Incorporating movement and targeted exercises
While an ergonomic desk setup lays the foundation, movement and targeted mobility can further reduce sciatic symptoms. Gentle routines that promote hip flexibility, pelvic stability, and core engagement are particularly helpful when done consistently.
- Hip flexor and piriformis stretches performed gently after waking or during breaks.
- Glute bridges to strengthen the gluteal muscles and support pelvic stability.
- Pelvic tilts and abdominal bracing to encourage a neutral spine during daily activities.
- Hamstring stretches to maintain flexibility and reduce lower-back strain.
Always perform movements within your comfort zone. If you experience sharp or worsening pain during any stretch or exercise, stop and consult a healthcare professional. The goal is gradual improvement, not pain-driven progress.
Practical checklist to implement at your desk
- Chair: adjustable height, lumbar support, and backrest tilt that allows a comfortable 100–110 degree recline.
- Desk: height-adjustable if possible; ensure forearms are parallel to the floor when typing.
- Monitor: top line at or slightly below eye level; distance about an arm’s length.
- Keyboard/mouse: close to your body; wrists in a neutral position; consider a vertical mouse or split keyboard if helpful.
- Foot positioning: feet flat on the floor or on a supportive footrest.
- Movement: set a timer for microbreaks every 30–60 minutes; perform a quick stretch or walk for 2–3 minutes.
- Standing integration: alternate between seated and standing in a structured plan to reduce spinal load.
- Lighting and glare: ensure comfortable lighting to avoid awkward neck positions that can contribute to overall discomfort.
Common mistakes to avoid
- Leaning forward to see the screen or typing with wrists bent upward or downward.
- Using a chair without lumbar support or with a seat depth that presses behind the knees.
- Raising shoulders toward ears during work, leading to neck and upper back tension.
- Overreliance on one posture for long periods; neglecting movement and posture variation.
- Ignoring pain signals and continuing to work in a way that worsens symptoms.
Putting it all together: a 4-week ramp plan
Week 1 focuses on assessment and small adjustments, such as a chair tilt and monitor height tweaks. Week 2 adds a standing option for short intervals and introduces a 2–3 minute mobility routine at every break. Week 3 emphasizes a consistent microbreak cadence and refined keyboard/mouse positioning. Week 4 consolidates the routine into a sustainable daily practice, with periodic reassessment of neutral spine alignment and comfort. If pain persists beyond this ramp, seek a clinician’s evaluation to rule out other etiologies.
Closing thoughts: building confidence through evidence-based ergonomics
Your desk setup matters because it shapes how your spine, pelvis, and nervous system function throughout the workday. By prioritizing lumbar support, proper alignment, and regular movement, you create conditions that support sciatic nerve health and better overall comfort. Remember, the best ergonomic plan is one you can maintain consistently. If you have persistent or worsening symptoms, schedule a professional assessment to tailor recommendations to your body and work routine.
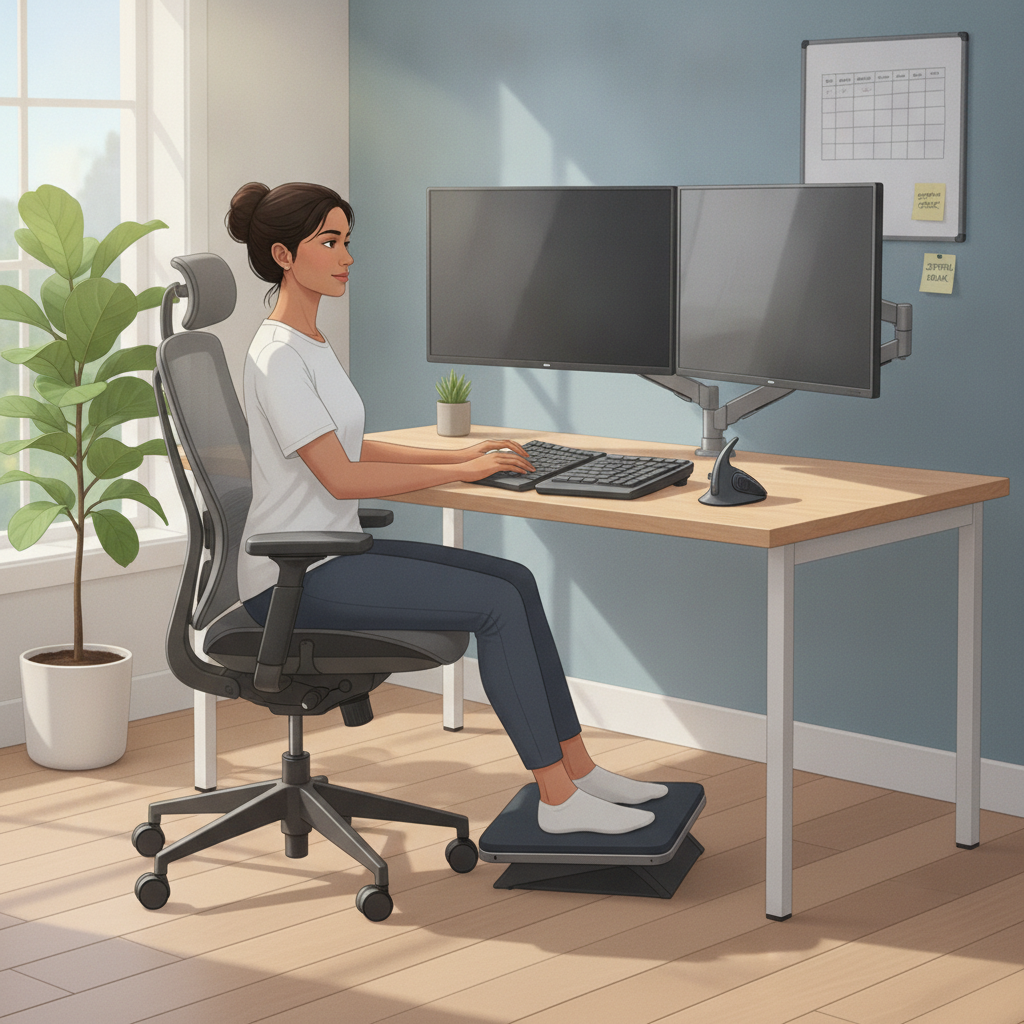
A detailed, high-resolution infographic-style image showing an ergonomic desk setup for sciatica prevention. Include labeled components: adjustable ergonomic chair with lumbar support, height-adjustable desk, monitor at eye level, keyboard and mouse with neutral wrist alignment, footrest, and microbreak reminders. Use a clean, modern office environment with warm lighting, neutral tones, and subtle shadows. Include callouts for key angles: elbow at ~90 degrees, monitor top at or just below eye level, feet flat on floor, and slight backward tilt of chair back (100–110 degrees). Include a side-by-side “before/after” panel illustrating common poor posture vs. corrected posture, with simple icons and short captions.


