Hip flexor releases for lower back stiffness can provide rapid relief and improve daily movement when performed correctly. Hip flexor release strategies address tightness in muscles like the psoas and iliacus, which often contribute to lumbar stiffness and altered posture.
As a health consultant with over a decade of experience helping people with musculoskeletal pain, I will outline safe, evidence-informed techniques and a simple program you can follow at home. This article focuses on practical steps, precautions, and when to seek professional care.
Why hip flexors affect lower back stiffness
Anatomy and biomechanics
The hip flexors (psoas major, iliacus, rectus femoris, sartorius) connect the spine and pelvis to the thigh. Tightness or trigger points in these muscles can pull the lumbar spine forward, increasing compression and stiffness.
When hip flexors are short or overactive, compensatory patterns develop: weak glutes, limited hip extension, and increased lumbar extension. All of these can perpetuate lower back stiffness and discomfort.
Evidence-based rationale
Clinical guidelines for chronic low back pain emphasize active, exercise-based approaches over passive treatments. Addressing muscle balance—reducing hip flexor tension while improving pelvic control and glute strength—is consistent with best-practice rehabilitation principles.
Safe hip flexor release techniques (step-by-step)
Use these techniques to reduce tightness. Start gently and increase intensity over days to weeks. If anything sharp or radiating occurs, stop and consult a clinician.
1. Foam roll hip flexors (self-myofascial release)
- Position: Lie facedown with a foam roller under the front of the hip (just below the hip bone).
- Technique: Shift bodyweight onto the roller and slowly roll from just below the hip crease toward mid-thigh for 30–60 seconds each side.
- Dosage: 2–3 rounds per side, 3–5 days per week. Avoid direct rolling over bony areas or sharp pain.
2. Lacrosse ball or massage ball release (targeted trigger point work)
- Position: Stand and place a lacrosse ball between the front of your hip and a wall, or lie supported on your elbow with the ball under the psoas region.
- Technique: Apply steady pressure and perform gentle small movements or breathe into the area for 30–90 seconds. Move the ball slightly until you find tender spots, then hold.
- Dosage: 1–3 spots per side, 2–4 minutes total each side. Stop if you feel numbness or sharp pain.
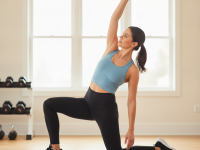
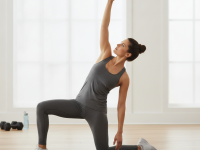
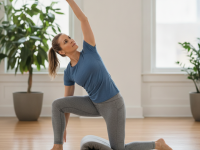
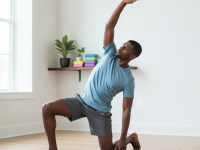
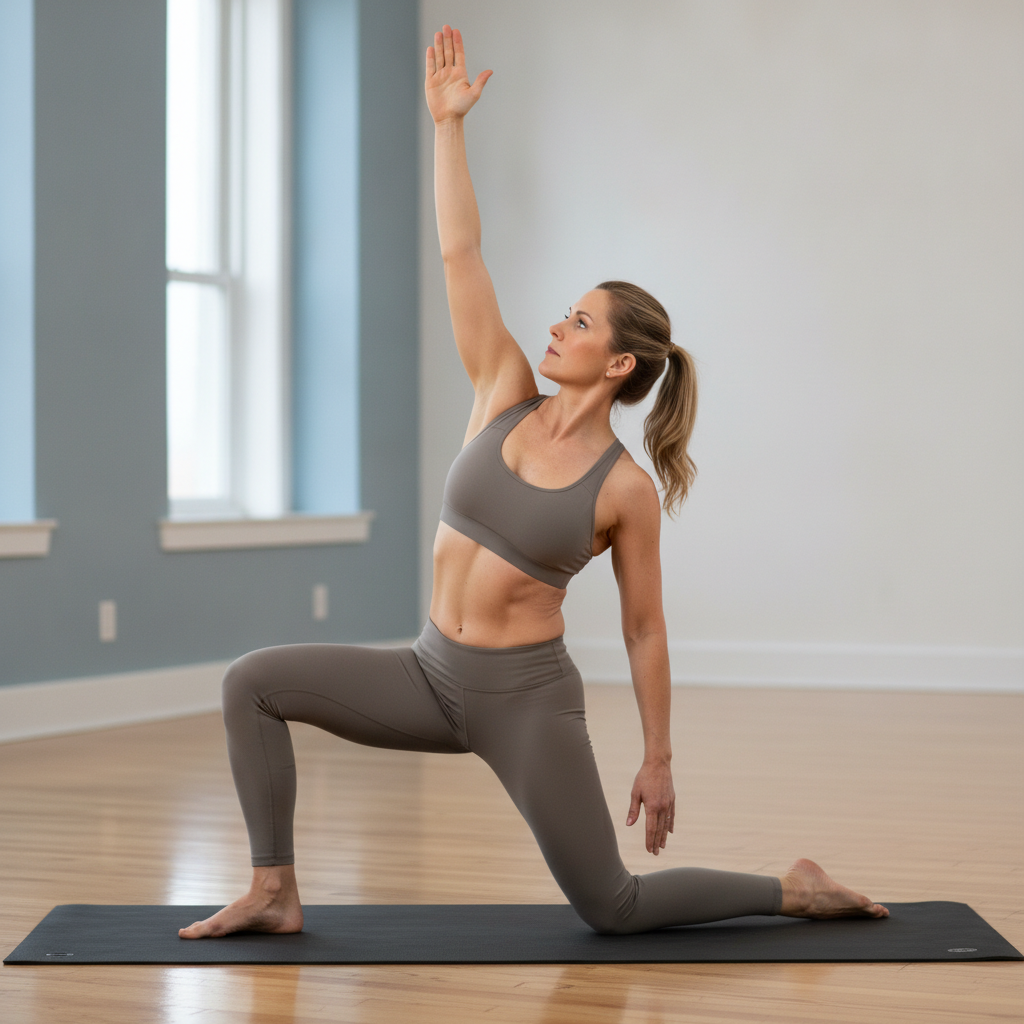
3. Kneeling hip flexor stretch with diaphragmatic breathing
- Position: Kneel on one knee (half-kneeling), front knee at 90 degrees.
- Technique: Tuck your pelvis posteriorly (engage glutes) and shift hips forward until you feel a stretch in the front hip. Breathe deeply into the belly for 30–45 seconds, allowing the muscle to relax with exhalation.
- Dosage: 3 holds of 30–45 seconds each side, daily or every other day.
4. Active release / contract-relax (PNF-style)
- Combine a hip flexor stretch with an isometric contraction: enter the kneeling stretch, then gently contract the hip flexor for 5–7 seconds without moving. Relax, then deepen the stretch for 20–30 seconds.
- Dosage: 3 cycles per side, 2–3 times per week. This can improve length and neuromuscular control.
5. Dynamic mobility (leg swings and hip hinges)
- Leg swings: Hold support, swing one leg forward and back with controlled motion for 20–30 reps to promote hip extension mobility.
- Hip hinge drills: Practice proper bending at the hips (keeping spine neutral) to re-train lumbar-pelvic coordination.
- Dosage: 1–2 sets of 20 reps, as part of warm-up or daily routine.
Complementary strengthening to prevent recurrence
Releasing tight hip flexors helps short-term, but strengthening the posterior chain reduces recurrence. Strong glutes and a stable core support the pelvis and lower back.
- Glute bridges: 2–4 sets of 10–15 reps.
- Single-leg bridges or step-ups: progress as pain allows.
- Dead bug or bird-dog for core control: 2–3 sets of 8–12 controlled reps per side.
Practical 4-week plan (example)
Week 1–2: Focus on gentle release and mobility. Do foam rolling/lacrosse ball 3x/week, kneeling stretch daily, and dynamic drills each session.
Week 3–4: Add strengthening twice weekly (bridges, dead bugs) while maintaining release work 2–3x/week. Increase intensity gradually based on symptoms.
When to avoid or seek professional care
Stop or modify exercises if you experience sudden worsening, sharp or shooting pain, numbness or weakness down the leg, unexplained weight loss, fever, or changes in bladder/bowel function. These can be red flags.
See a physiotherapist or physician if your symptoms persist beyond 4–6 weeks despite home care, or if you have a history of spinal surgery, significant trauma, or a diagnosed condition that could affect exercise safety.
Tips for long-term results
- Posture: Address prolonged sitting—stand up and move every 30–60 minutes to prevent hip flexor shortening.
- Ergonomics: Adjust chair height and keyboard position to reduce anterior pelvic tilt.
- Consistency: Small, regular sessions (10–20 minutes most days) are more effective than occasional long sessions.
- Breathing: Use diaphragmatic breathing during stretches to enhance relaxation and tissue lengthening.
Final thoughts
Hip flexor releases for lower back stiffness can be an effective component of a broader rehabilitation and self-care plan. Combining targeted release, mobility work, and progressive strengthening addresses both symptoms and underlying contributors to stiffness.
If you are unsure which techniques are right for you, a brief assessment by a licensed physiotherapist or qualified health professional helps tailor a safe, effective program. With consistent, evidence-informed practice, many people experience meaningful reductions in stiffness and improved function.