Hip flexor releases for lower back stiffness can relieve pain, reduce stiffness, and improve posture when performed correctly. This article explains why tight hip flexors contribute to lumbar discomfort and offers safe, evidence-informed release techniques you can do at home or as part of a rehab program.
Why tight hip flexors cause lower back stiffness
The hip flexors (primarily the iliopsoas and rectus femoris) attach to the pelvis and lumbar spine, so when they are tight they pull the pelvis forward and increase lumbar lordosis. This altered posture increases compressive load on the lower back and can cause stiffness, aching, and restricted movement.
Factors that contribute to hip flexor tightness include prolonged sitting, weak glutes, poor core control, and repetitive athletic positions. Addressing tightness with targeted releases and strengthening helps restore balanced movement and reduces chronic stiffness.
Principles before you begin
- Move gently and apply progressive pressure—avoid forcing deep stretches.
- Aim for consistent short sessions (5–15 minutes daily) rather than occasional long sessions.
- If you have red-flag symptoms (fever, unexplained weight loss, progressive leg weakness, saddle anesthesia, bowel/bladder changes), stop and seek urgent medical attention.
- Consult a physical therapist or physician if you have recent trauma, joint replacement, or a history of spinal surgery.
Top hip flexor release techniques (step-by-step)
1. Self-massage with a lacrosse or therapy ball
Targeting trigger points in the iliopsoas or tensor fasciae latae can reduce localized tension. The ball provides focused pressure that helps break up adhesions and relieve pain.
- Lie face down and place a lacrosse ball just below the front of the hip (about two inches medial to the ASIS for the iliopsoas).
- Support your body weight to control pressure. Hold for 30–60 seconds on tender spots, breathing slowly.
- Move the ball slightly and repeat for 2–3 spots per side. Do 1–2 minutes per side total.
2. Foam roller anterior hip release
Foam rolling the front of the thigh and upper hip helps loosen the rectus femoris and adjacent fascia. Use a softer roller if sensitivity is high.
- Lie face down with the roller beneath the front of the thigh near the hip crease.
- Gently roll back and forth 6–10 times across the area, pausing on tight spots for 20–30 seconds.
- Combine with gentle hip extension movements (small lifts) to increase tissue mobility.
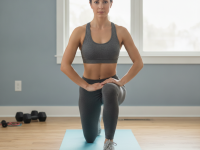
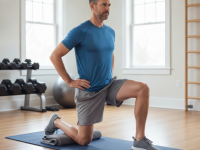
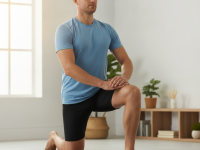
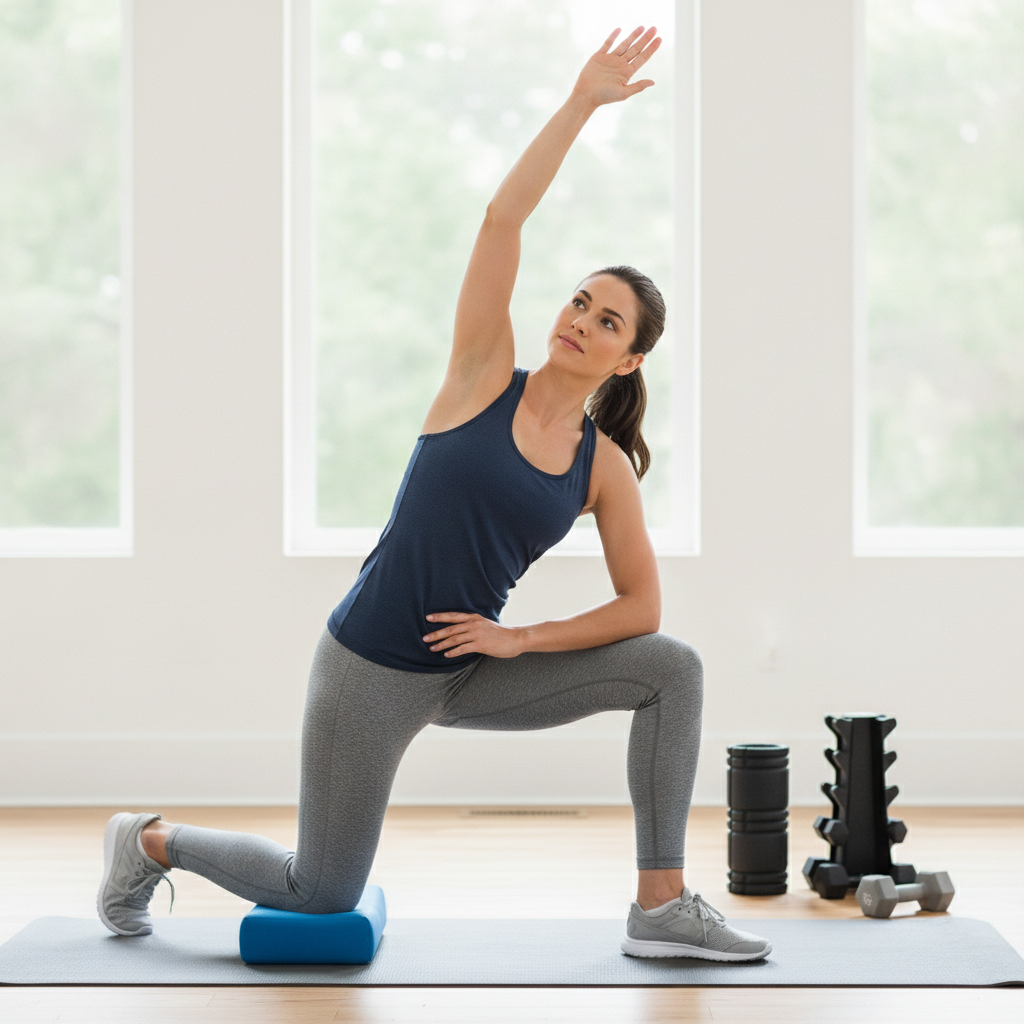
3. Kneeling hip flexor stretch with pelvic tilt
This active stretch lengthens the iliopsoas while encouraging lumbar stabilization via a pelvic tilt. It reduces pull on the lower spine during the stretch.
- Kneel with one knee down and the other foot forward in a lunge position.
- Tuck the pelvis under (posterior pelvic tilt) and gently shift hips forward until you feel a stretch at the front of the hip.
- Hold for 30 seconds, relax, and repeat 2–3 times per side.
4. Couch stretch for deep hip flexor lengthening
The couch stretch provides a longer, passive lengthening of the iliopsoas and rectus femoris. It can be intense—modify by reducing depth or using pillows for support.
- Place the back knee on the floor in front of a wall or couch, with the shin against the wall/couch and front foot forward.
- Keep the pelvis neutral, engage glutes lightly, and lean forward slightly until you feel a deep stretch.
- Hold for 30–60 seconds and repeat 1–2 times per side.
5. Dynamic lunges with rotation
Combining dynamic movement with rotation improves hip mobility and trains core control for better lumbar support during activity.
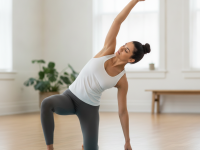
- Perform a forward lunge and reach the opposite arm across the body to rotate toward the front leg.
- Return to standing and repeat 8–12 reps per side for 2–3 sets.
- Focus on controlled motion and breathing; this is also functional warm-up work.
6. Strengthening and stabilization (to prevent recurrence)
Release techniques should be paired with glute and core exercises to correct the muscle imbalance that contributed to tight hip flexors.
- Glute bridges: 2–3 sets of 10–15 reps, progress to single-leg bridges.
- Side-lying clams, resisted band walks, and dead-bug core drills to support pelvic control.
- Gradually increase load and complexity as pain decreases and movement quality improves.
How often and when to expect improvement
Short daily sessions (5–15 minutes) are typically most effective. Many people notice reduced stiffness within 1–2 weeks, especially when combining releases with strengthening and posture changes.
For chronic cases or long-standing imbalances, expect a multi-week plan (6–12 weeks) overseen by a clinician for the best outcomes.
Safety considerations and when to see a professional
Stop any technique that produces sharp or radiating pain down the leg, severe instability, or new neurological symptoms. Mild soreness or pressure is normal, but sharp pain is not.
See a physical therapist or physician if symptoms persist beyond 4–6 weeks despite conservative care, or sooner if you have progressive weakness, numbness, or bowel/bladder changes. A clinician can assess for lumbar disc issues, nerve compression, or other causes that require different management.
Putting it together: a sample 10-minute routine
- 1–2 minutes: Foam rolling anterior thigh and hip.
- 2 minutes: Lacrosse ball work on tender points (1 minute per side).
- 2 minutes: Kneeling hip flexor stretch with pelvic tilt (1 minute per side).
- 3 minutes: Dynamic lunges with rotation (1–2 sets of 8–12 reps per side).
- 2 minutes: Glute bridges or core stabilization drill to finish.
Evidence and credibility
Clinical guidelines and growing research support combining myofascial release, stretching, and targeted strengthening to reduce musculoskeletal pain and improve function. Individual response varies, so techniques should be adapted to pain level and functional goals.
As a health consultant with experience guiding patients in conservative spine and hip care, I recommend using these techniques as part of a structured plan. If needed, seek hands-on assessment from a licensed physical therapist for personalized progression.
Final tips
- Be consistent: small daily habits beat sporadic intense sessions.
- Address contributing factors: workplace ergonomics, sitting breaks, and exercise balance matter.
- Combine release with strengthening and movement re-education for durable results.
If you need a tailored routine for your specific symptoms, consider booking a consultation with a physical therapist or qualified clinician who can assess movement, rule out red flags, and prescribe a progressive plan.