Learn how to create authentic sushi rolls with traditional Japanese fillings in this comprehensive tutorial.
Sushi has become one of the most beloved dishes worldwide, celebrated for its exquisite flavors, artistic presentation, and cultural significance. Mastering the art of traditional sushi rolls is a rewarding experience that allows you to recreate authentic Japanese flavors in your own kitchen. Whether you’re a beginner or a seasoned cook, this comprehensive guide will help you craft perfect sushi rolls, step by step.
Introduction to Sushi
Sushi originated in Japan as a method of preserving fish by fermenting it with rice. Over centuries, it evolved into the delicacy we know today. Sushi rolls, known as makizushi in Japanese, are among the most popular styles of sushi. They feature rice, fish, and vegetables wrapped in seaweed (nori) and are often served with soy sauce, pickled ginger (gari), and wasabi.
Essential Tools and Ingredients
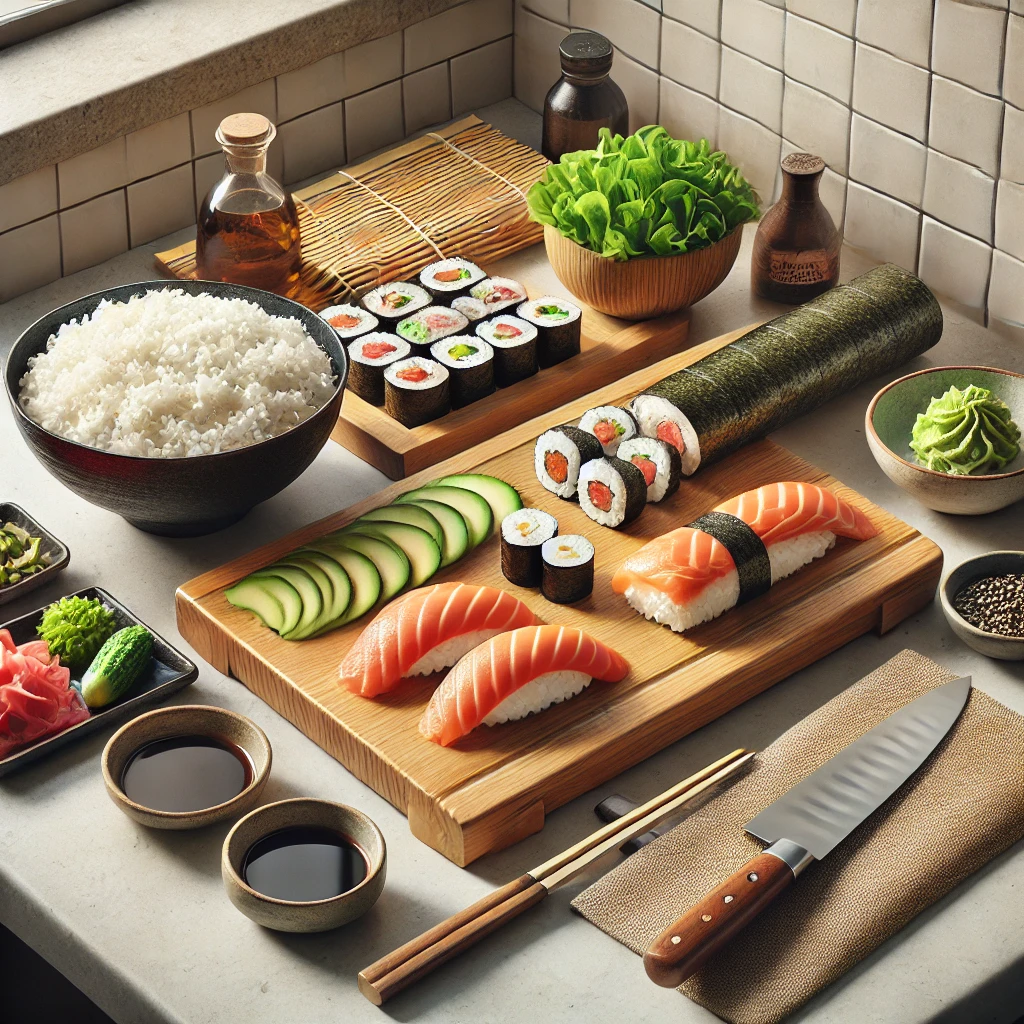
Before diving into the process, gather the necessary tools and ingredients:
Tools:
- Bamboo Rolling Mat (Makisu): Helps shape the sushi roll.
- Sharp Knife: Essential for cleanly slicing rolls.
- Rice Paddle (Shamoji): Used for mixing and spreading rice.
- Cutting Board: A flat surface for assembling and slicing rolls.
- Small Bowl of Water: Prevents rice from sticking to your hands and tools.
- Plastic Wrap: Optional, but helpful for beginners.
Ingredients:
- Sushi Rice: Short-grain Japanese rice is ideal due to its stickiness.
- Rice Vinegar: Adds flavor and shine to the rice.
- Sugar and Salt: For seasoning the rice.
- Nori Sheets: Dried seaweed used for wrapping.
- Fresh Fish: Common choices include tuna, salmon, or crab.
- Vegetables: Cucumber, avocado, and carrots are popular.
- Condiments: Soy sauce, wasabi, and pickled ginger for serving.
Step 1: Preparing Sushi Rice
The foundation of great sushi is perfectly seasoned rice. Follow these steps to prepare sushi rice:
- Rinse the Rice: Measure 2 cups of short-grain rice and rinse under cold water until the water runs clear. This removes excess starch.
- Cook the Rice: Use a rice cooker or pot to cook the rice according to the package instructions. Generally, you’ll need 2 cups of water for 2 cups of rice.
- Prepare Vinegar Mixture: Combine 1/3 cup rice vinegar, 2 tablespoons sugar, and 1 teaspoon salt in a small saucepan. Heat gently until the sugar and salt dissolve.
- Season the Rice: Transfer the cooked rice to a wide, shallow bowl. Pour the vinegar mixture over the rice and gently fold it using a rice paddle or wooden spoon. Be careful not to mash the grains.
- Cool the Rice: Let the rice cool to room temperature by covering it with a damp cloth to prevent drying out.
Step 2: Preparing Fillings
While the rice cools, prepare your fillings. Traditional sushi rolls often include a combination of fish and vegetables:
- Fish: Slice fresh, sushi-grade fish into thin strips. Always use high-quality fish to ensure safety and flavor.
- Vegetables: Peel and slice cucumber, avocado, and carrots into thin, even strips. Blanch harder vegetables like carrots if desired.
Step 3: Setting Up Your Workspace
Arrange all your tools and ingredients on a clean surface. Place the bamboo rolling mat on a cutting board and lay a sheet of plastic wrap over it to prevent sticking (optional). Keep a small bowl of water nearby to moisten your hands and knife.
Step 4: Assembling the Sushi Roll
Now, it’s time to assemble the sushi roll. Here’s the step-by-step process:
- Lay the Nori Sheet: Place one sheet of nori on the bamboo mat, shiny side down.
- Spread the Rice: Wet your hands with water and grab a handful of rice. Spread it evenly over the nori, leaving a 1-inch border at the top for sealing.
- Add Fillings: Arrange your desired fillings in a horizontal line about 1 inch from the bottom edge of the rice. Be careful not to overfill, as this can make rolling difficult.
- Roll the Sushi: Using the bamboo mat, lift the bottom edge of the nori and gently roll it over the fillings. Use your fingers to press and shape the roll as you go. Continue rolling until the seam seals.
- Seal the Roll: Lightly dampen the uncovered edge of the nori with water to help it stick and seal the roll.
Step 5: Slicing the Roll
A sharp knife is crucial for slicing cleanly through the roll without squashing it:
- Wet the Knife: Dip the blade in water to prevent sticking.
- Cut the Roll: Slice the roll into 6-8 equal pieces, depending on the desired size. Wipe the knife clean between cuts for smooth slices.
Step 6: Plating and Serving
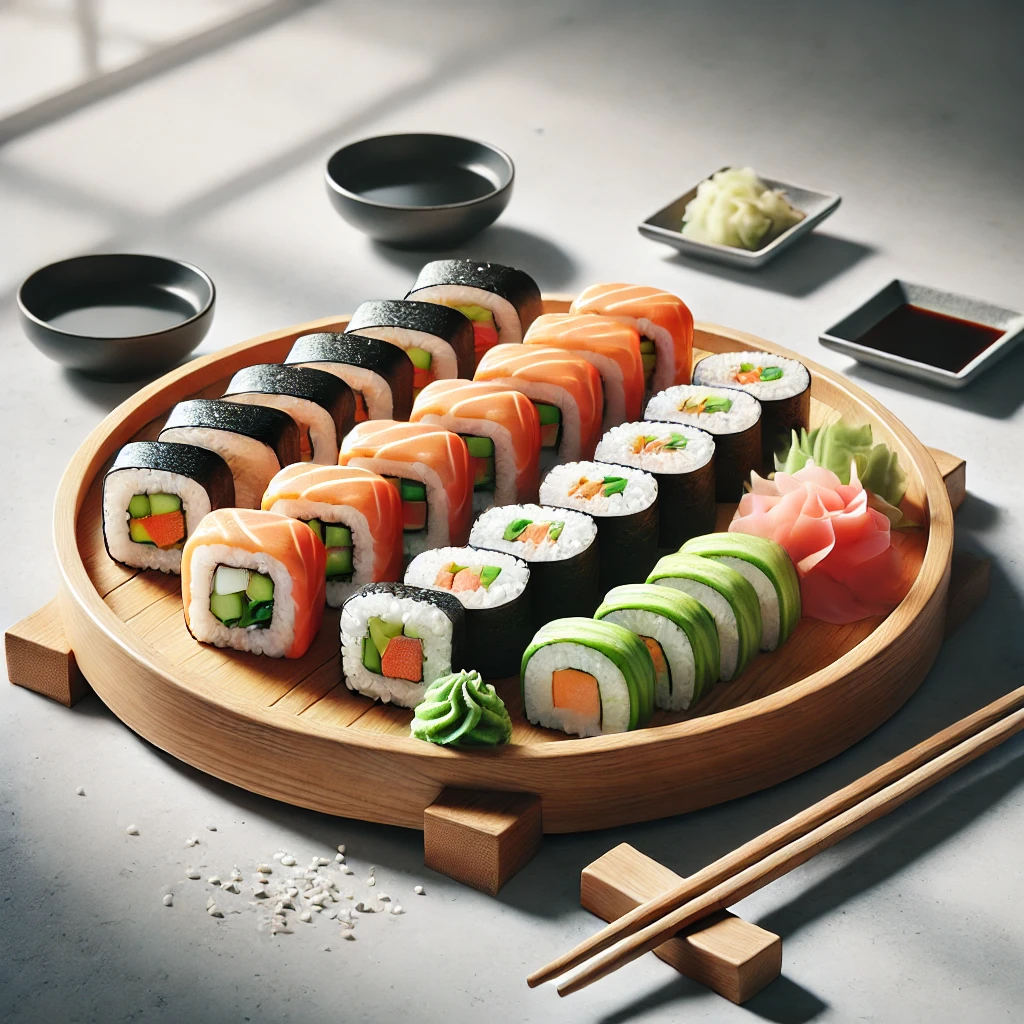
Arrange the sushi pieces neatly on a plate and garnish as desired. Serve with soy sauce, pickled ginger, and a small dab of wasabi for dipping.
Popular Variations
Once you’ve mastered the basic technique, experiment with different variations:
- California Roll: A popular roll featuring crab, avocado, and cucumber.
- Spicy Tuna Roll: Made with chopped tuna mixed with spicy mayonnaise.
- Vegetarian Roll: Includes a mix of vegetables like avocado, cucumber, and carrots.
- Rainbow Roll: A colorful roll topped with assorted fish slices.
Tips for Success
- Choose Quality Ingredients: Fresh, high-quality fish and vegetables are key to great sushi.
- Practice Rolling: Don’t worry if your first rolls aren’t perfect—practice makes perfect!
- Keep Rice Moist: Use a damp cloth to cover rice to prevent it from drying out.
- Balance Flavors: Ensure a good ratio of rice to fillings for balanced flavor.
The Cultural Significance of Sushi
Sushi is more than just food; it’s an art form deeply rooted in Japanese culture. In Japan, sushi chefs undergo years of rigorous training to master the craft. Every detail, from the selection of ingredients to the presentation, reflects a deep respect for tradition and the culinary experience.
Frequently Asked Questions
Q: Can I make sushi without raw fish?
A: Absolutely! You can use cooked ingredients like shrimp, crab, or grilled eel, as well as vegetarian options like avocado, cucumber, and tofu.
Q: What’s the best way to store leftover sushi?
A: Sushi is best enjoyed fresh, but you can store leftovers in an airtight container in the refrigerator for up to 24 hours. The texture may change slightly.
Q: Do I need a bamboo mat to make sushi?
A: While a bamboo mat helps shape the rolls, you can also use a clean kitchen towel or plastic wrap as an alternative.
Conclusion
Mastering the art of traditional sushi rolls is a journey that combines skill, creativity, and a love for Japanese cuisine. With this step-by-step guide, you can confidently create delicious and visually stunning sushi rolls in your own kitchen. Whether you’re preparing a simple dinner or hosting a sushi night with friends, the joy of making and sharing sushi is unparalleled. So, gather your ingredients, roll up your sleeves, and embark on a culinary adventure that’s as rewarding as it is delicious!


