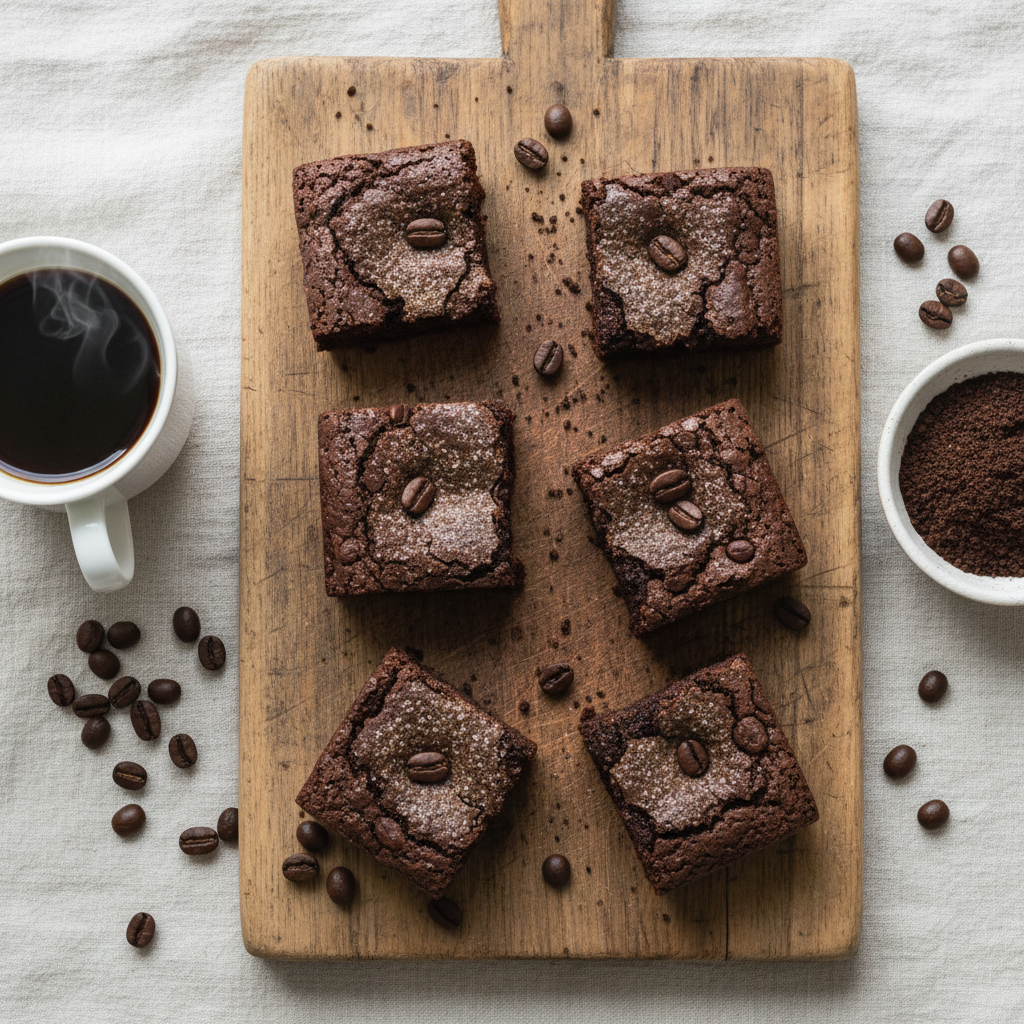
Hey there, fellow food lover and coffee enthusiast! If you’re anything like me, your day probably doesn’t officially start until you’ve had that first glorious sip of coffee. But what happens once that aromatic brew is gone? Most of us simply scoop out the used coffee grounds and toss them into the trash or compost bin, right? Well, what if I told you those humble grounds have one more secret mission to accomplish – transforming into the most decadent, deeply flavored, and surprisingly sustainable brownies you’ve ever tasted?
I know, I know. “Coffee grounds in brownies? Isn’t that… weird?” That was my exact thought when I first heard the concept. My initial reaction was a mix of skepticism and intrigue. Would it be gritty? Too bitter? But as someone passionate about reducing kitchen waste and always on the hunt for unique flavor profiles, I couldn’t resist the challenge. What followed was a delightful culinary adventure of trial and error, culminating in a brownie recipe that has become a staple in my kitchen. And today, I’m thrilled to share my ultimate, battle-tested recipe and all my tips with you!
Why Coffee Grounds? Beyond Just Reducing Waste
Before we dive into the delicious details, let’s chat about why this isn’t just a quirky gimmick. Using coffee grounds in your brownies is a game-changer for a couple of key reasons:
- Flavor Depth: This is the big one! Coffee, even spent grounds, has a magical ability to enhance chocolate. It doesn’t make the brownies taste overtly like coffee (unless you want it to, of course!). Instead, it deepens the chocolate flavor, making it richer, more complex, and less one-note. Think of it as the secret ingredient that makes your chocolate truly sing. The residual bitterness from the coffee perfectly balances the sweetness of the sugar, creating a more sophisticated dessert.
- Sustainable Baking: Let’s be honest, we generate a lot of coffee waste. Repurposing those grounds is a fantastic way to practice sustainability in your own kitchen. It’s a small step, but imagine all the coffee grounds that could be saved from landfills and turned into pure deliciousness!
- Unique Texture (Optional): Depending on how you prepare them, coffee grounds can add a subtle, pleasant texture to your brownies, almost like tiny, flavorful sprinkles. If you prefer a smoother brownie, don’t worry, I’ll show you how to achieve that too!
My Journey to the Perfect Coffee Ground Brownie
My first attempt at coffee ground brownies was… well, let’s just say it was an educational experience. I was too eager and simply tossed wet, chunky grounds directly into the batter. The result? A surprisingly bitter, oddly textured brownie that lacked the fudginess I adore. Not quite the sustainable masterpiece I had envisioned!
That failure, however, only fueled my determination. I started experimenting. I tried different types of coffee, varied the amount of grounds, and, most importantly, spent a lot of time perfecting the preparation of the grounds themselves. I learned that just like any good ingredient, coffee grounds need a little TLC to shine in a dessert.
The breakthrough came when I realized the importance of thoroughly drying the grounds and, for a smoother texture, giving them a quick blitz in a food processor or a gentle sift. It transformed the brownies from an “interesting experiment” to a “wow, you HAVE to try this!” moment. Friends and family were amazed when I told them the secret ingredient, often guessing it was some exotic spice, not repurposed coffee!
Essential Tips Before You Start Baking
To ensure your coffee ground brownie journey is a success from the get-go, here are the key lessons I learned:
1. Dry Those Grounds!
This is arguably the most crucial step. Wet grounds introduce too much moisture into your batter, which can throw off the texture and make your brownies cakey or even soggy. Plus, moisture can lead to bitterness. You want your grounds as dry as possible.
- Oven Method (My Favorite): Spread your used grounds thinly on a baking sheet lined with parchment paper. Bake at the lowest possible temperature (around 200°F / 95°C) for 1-2 hours, stirring occasionally, until completely dry and crumbly. Keep an eye on them to prevent burning.
- Air Dry Method: Spread grounds on a baking sheet or plate and let them air dry for several days, stirring daily. This is more time-consuming but uses no energy.
2. Consider the Grind Size
Once dried, you have options:
- Fine Grind (Smoother Brownies): If you prefer a less noticeable texture, give your dried grounds a quick pulse in a coffee grinder or food processor until they resemble a fine powder. You can even sift them through a fine-mesh sieve to remove any larger bits.
- Coarser Grind (Subtle Texture): If you don’t mind a little texture, or even welcome it, you can use the dried grounds as is. They’ll add a pleasant, almost granular feel that some people really enjoy.
3. Type of Coffee Matters (A Little)
Generally, any used coffee grounds will work! However:
- Darker Roasts: Tend to yield a more intense, robust flavor in your brownies.
- Lighter Roasts: Will offer a more subtle, delicate coffee note.
- Decaf vs. Regular: If you’re serving these to kids or sensitive sleepers, decaf grounds are a great option. The caffeine content in used grounds is significantly reduced, but it’s still present, so keep that in mind.
4. Storing Your Grounds
You don’t have to bake immediately! Collect your grounds over a few days. Once dried, store them in an airtight container at room temperature until you’re ready to bake. They’ll keep for a couple of weeks.
My Ultimate Sustainable Coffee Ground Brownie Recipe
Alright, enough talk! Let’s get to the baking. This recipe yields fudgy, rich, and utterly irresistible brownies.
Ingredients:
- ½ cup (113g) unsalted butter
- 1 cup (170g) good quality dark chocolate (chips or chopped bar, 60-70% cacao)
- 1 cup (200g) granulated sugar
- ½ cup (100g) packed light brown sugar
- 2 large eggs, at room temperature
- 1 tsp vanilla extract
- ½ cup (60g) all-purpose flour
- ¼ cup (25g) unsweetened cocoa powder
- ½ tsp salt
- ¼ cup (approx. 20-30g) finely dried coffee grounds (see drying instructions above)
- Optional: ½ cup chocolate chips or chopped nuts for mixing in
Equipment:
- 8×8 inch square baking pan
- Parchment paper
- Double boiler or microwave-safe bowl
- Mixing bowls, whisk, spatula
Instructions:
- Preheat & Prepare: Preheat your oven to 350°F (175°C). Line an 8×8 inch square baking pan with parchment paper, leaving an overhang on the sides to easily lift the brownies out later. Lightly grease the exposed pan sides.
- Melt Butter & Chocolate: In a double boiler or a microwave-safe bowl, melt the butter and dark chocolate together. Stir until smooth and well combined. Remove from heat and let it cool slightly while you prepare the wet ingredients.
- Combine Sugars & Eggs: In a large mixing bowl, whisk together the granulated sugar, brown sugar, and eggs until light, pale, and fluffy (about 2-3 minutes with a hand mixer, or 5 minutes by hand). This step is crucial for that crackly top!
- Mix Wet Ingredients: Pour the slightly cooled chocolate-butter mixture into the egg-sugar mixture. Add the vanilla extract. Mix gently with a spatula until just combined. Be careful not to overmix.
- Combine Dry Ingredients: In a separate bowl, whisk together the flour, cocoa powder, salt, and your prepared dried coffee grounds.
- Combine Wet & Dry: Gradually add the dry ingredients to the wet ingredients, mixing with a spatula until just combined. Be careful not to overmix; overmixing develops gluten and can lead to a tougher brownie. If adding optional chocolate chips or nuts, fold them iow.
- Bake: Pour the batter into your prepared baking pan and spread evenly. Bake for 25-30 minutes, or until a toothpick inserted into the center comes out with moist crumbs, but not wet batter. Remember, brownies continue to cook a little as they cool, so it’s better to slightly underbake for ultimate fudginess.
- Cool & Enjoy: Let the brownies cool completely in the pan before lifting them out using the parchment paper overhang. Once cool, slice into squares and prepare for pure delight!
Variations and Customizations
Feeling adventurous? Here are a few ways to make these brownies uniquely yours:
- Spiced Coffee Grounds: Add a pinch of ciamon, cardamom, or even a tiny dash of cayee pepper to your dried coffee grounds for an extra layer of flavor.
- Nutty Crunch: Fold in chopped walnuts, pecans, or hazelnuts with the chocolate chips for added texture and richness.
- Double Coffee Kick: For serious coffee lovers, you can also add 1-2 teaspoons of instant espresso powder to the wet ingredients for an even more intense coffee-chocolate flavor.
- Cream Cheese Swirl: For a truly decadent treat, swirl a simple cream cheese mixture (softened cream cheese, sugar, and an egg yolk) into the brownie batter before baking.
Serving Suggestions
These brownies are fantastic on their own, but they also play well with others. Try serving them:
- Warm with a scoop of vanilla bean ice cream (and maybe a drizzle of caramel!).
- Alongside a fresh cup of coffee or a cold glass of milk.
- Dusted with a little powdered sugar or a sprinkle of flaky sea salt for an elevated touch.
The Sweetest Conclusion to Your Coffee Routine
So, there you have it – my tried-and-true recipe for turning what was once considered waste into a truly remarkable dessert. These coffee ground brownies are more than just a treat; they’re a testament to how a little creativity and a dash of conscious effort can transform our everyday routines into something more sustainable and infinitely more delicious.
I genuinely hope you give this recipe a try. Don’t be afraid to experiment and make it your own. And when you pull that pan of fudgy, aromatic brownies out of the oven, take a moment to savor not just the taste, but the satisfaction of knowing you’ve created something wonderful from something that might have otherwise been discarded. Happy baking, and enjoy every sustainable, chocolatey bite!


